
The Parallax Effects extension in Atomic Addons adds smooth scrolling motion to your Elementor elements, creating a sense of depth and movement as visitors navigate through the page. You can use it to give backgrounds, images, and other content a dynamic visual effect that makes your layouts feel more engaging and interactive. With easy-to-adjust motion settings and responsive controls, you can create attractive parallax experiences that complement your website design. This documentation will guide you through how to use and configure the Parallax Effects extension in Atomic Addons.
Enabling the Parallax Effects Extension #
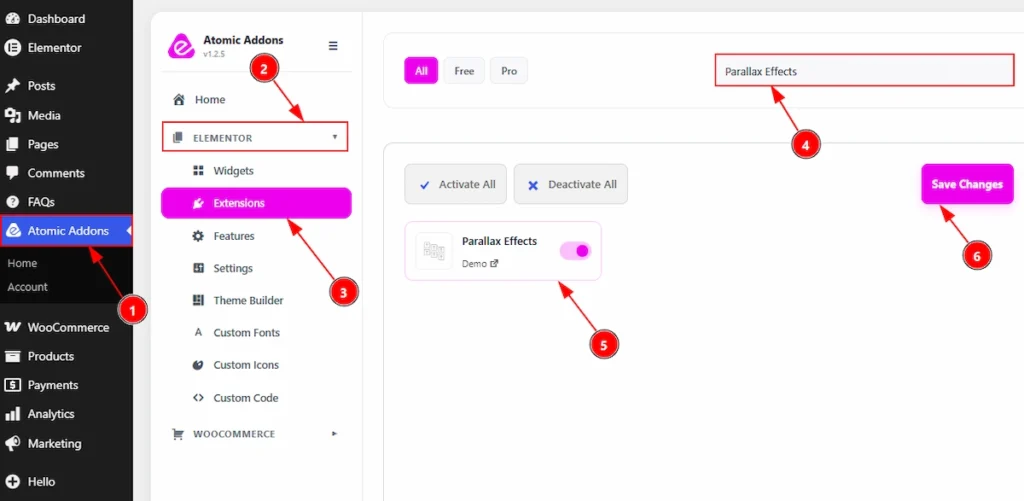
To use the Parallax Effects Extension from Atomic Addons, first, you have to enable the extension.
- Go to WordPress dashboard → Atomic Addons Plugin dashboard.
- Then, click on the Elementor Tab and the sub items will open.
- Then, Click the Extensions Tab.
- Search for the Parallax Effects Extension.
- Enable the Parallax Effects Extension.
- Hit the Save Settings Button.
Primary Setup for Parallax Effects Extension #
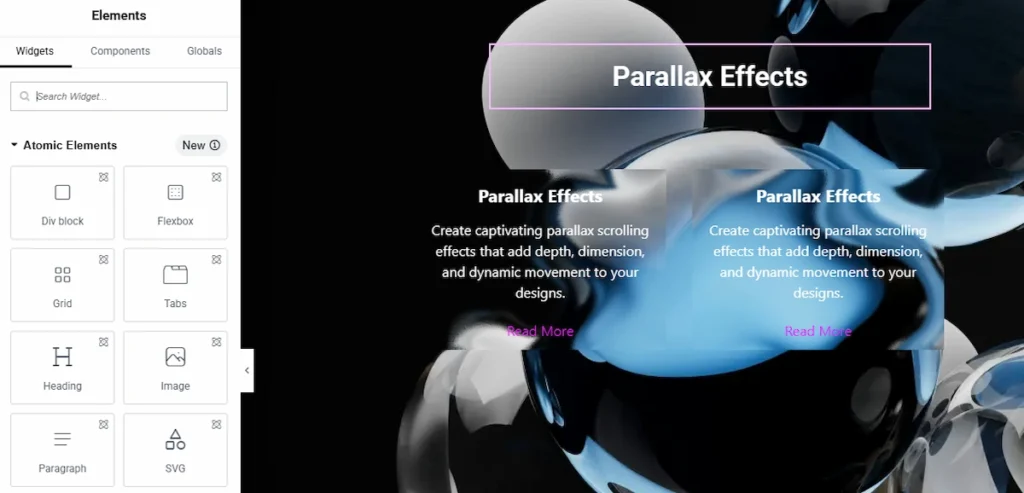
To use the Parallax Effects extension, start by choosing an existing layout or building a new one. We’ve set up a sample design above to show you how it works.
Place to Find the Parallax Effects Extension #
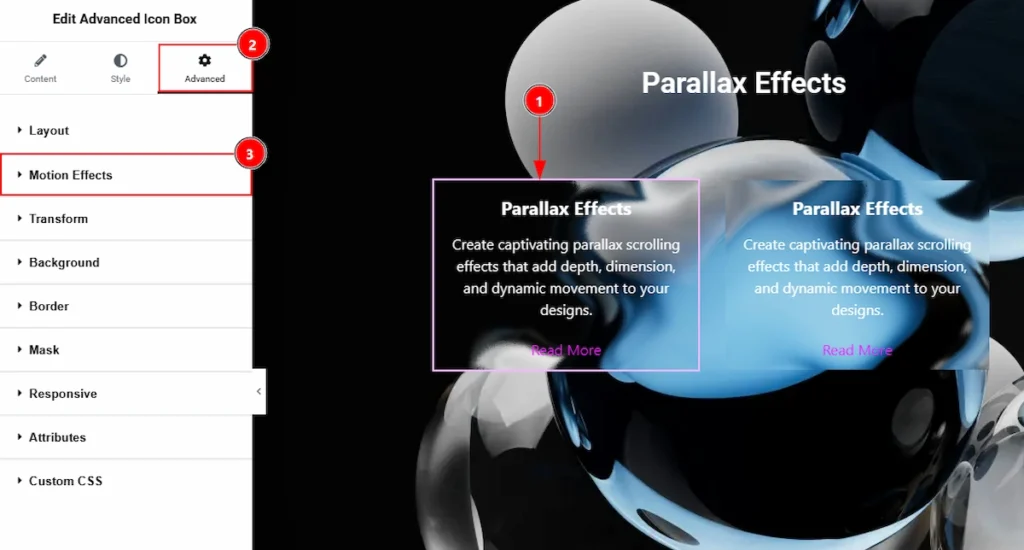
1. To find the Parallax Effects Extension, you must need to select the element where you want to use the extension.
2. Now, move to Advanced Tab of the selected widget.
3. Here, you will find the default Motion Effects.
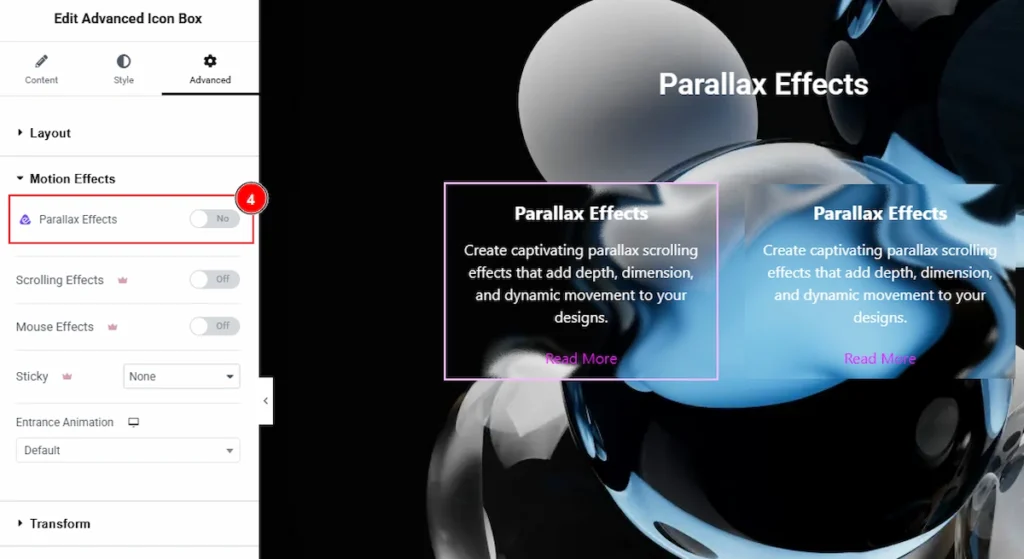
4. Now inside the Motion Effects section, you will find the Parallax Effects.
Using the Parallax Effects Extension #
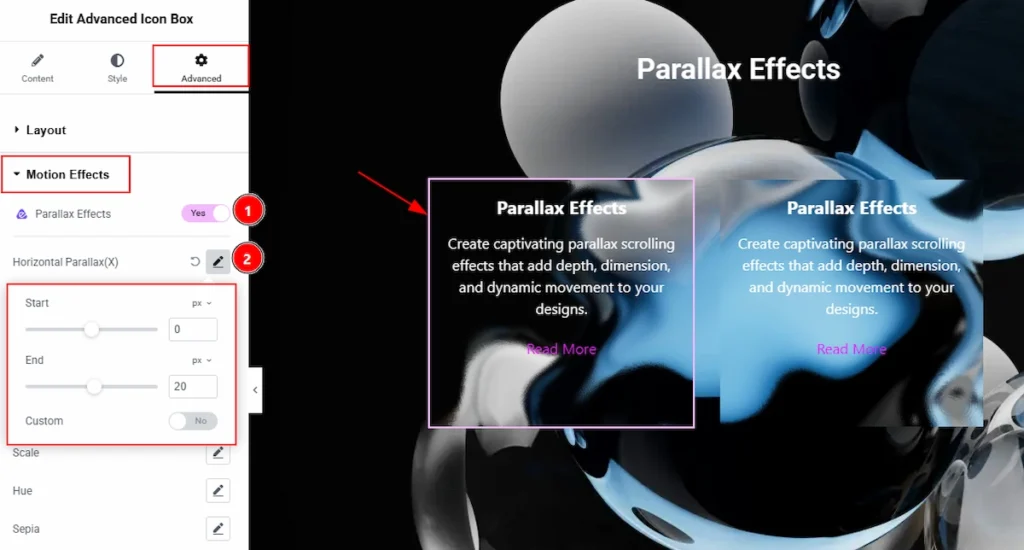
1. Parallax Effects: Enable the switcher to get more options to customize the parallax effects.
2. Horizonral Parallax (X): This option allows you to move the element left or right based on the user’s scroll movement, creating a horizontal parallax effect.
- Start: You can set the initial horizontal position in px with this option.
- End: This option defines how far the element moves while scrolling.
- Custom: You can enable the switcher to set a custom value for the element to smoothly shifts from Start to End, with higher End values creating stronger horizontal movement.
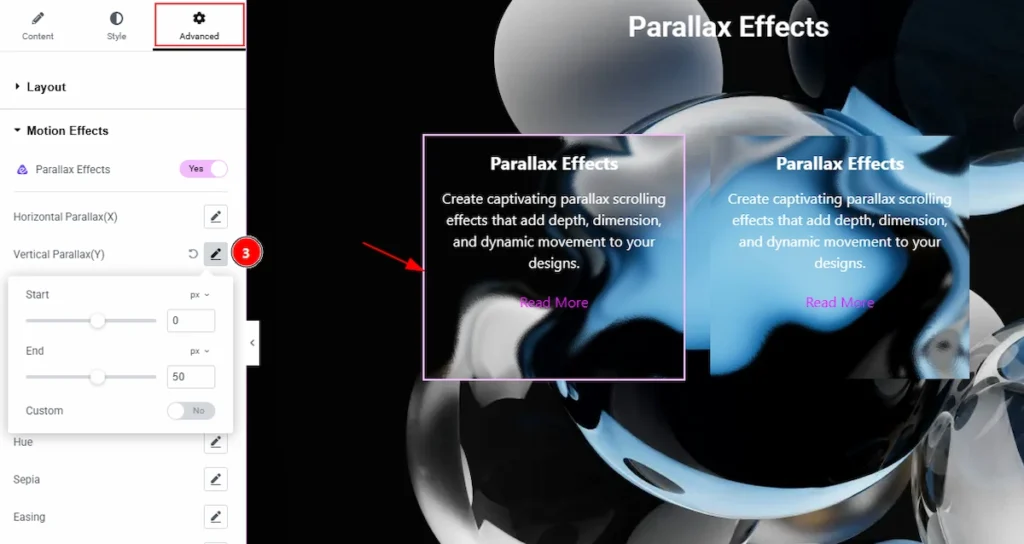
3. Vertical Parallax (Y): This option allows you to move the element up or down based on the user’s scroll movement, creating a vertical parallax effect.
- Start: You can set the initial vertical position in px with this option.
- End: This option defines how far the element moves while scrolling.
- Custom: You can enable the switcher to set a custom value for the element to smoothly shifts from Start to End, with higher End values creating stronger vertical movement.
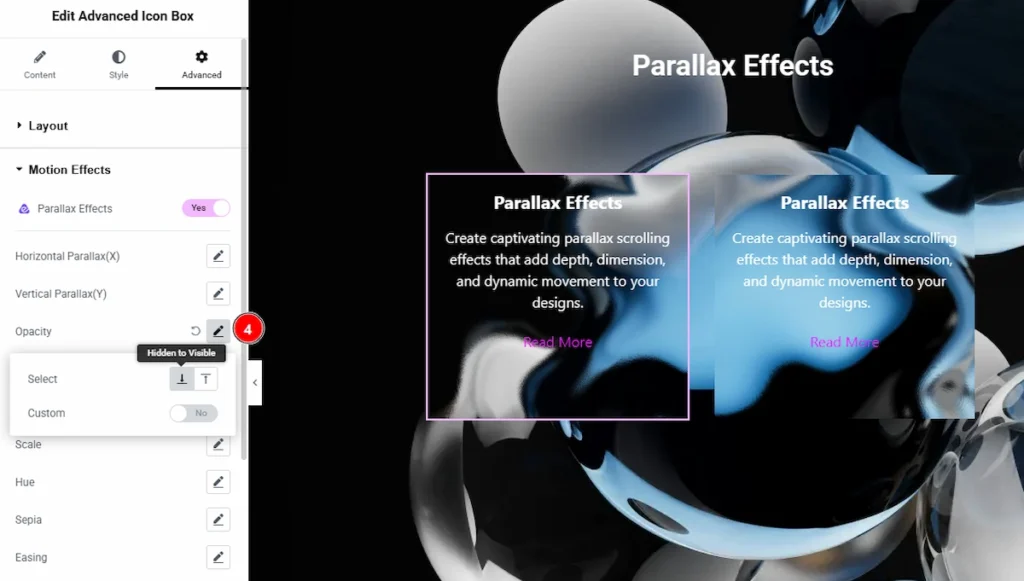
4. Opacity: The Opacity option controls how the element’s transparency changes while scrolling. You can set the opacity movement position and the enable the custom value to add with this option.
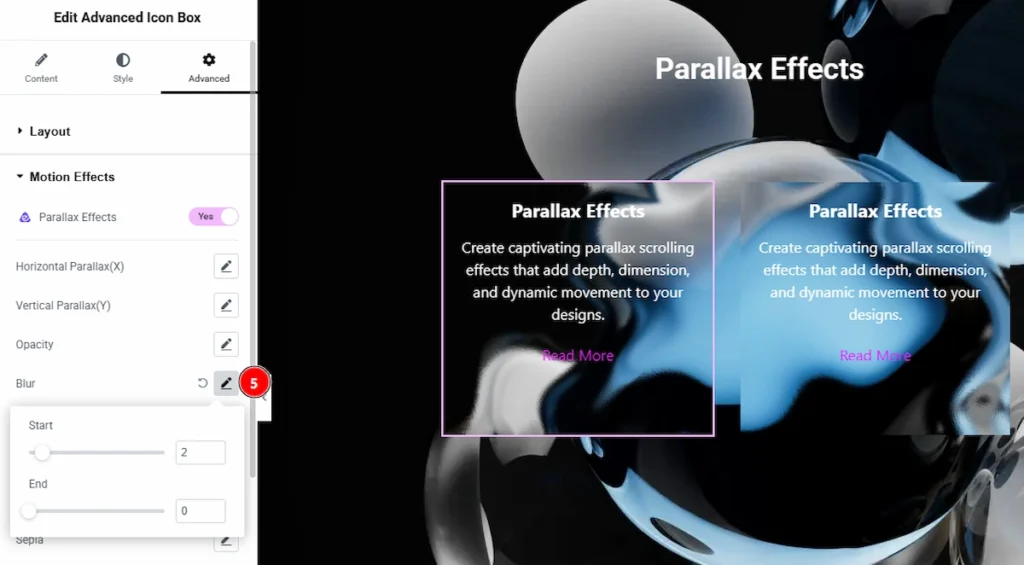
5. Blur: The Blur option controls how much the element becomes blurry while scrolling. You can add value to start option for to set blurriness when the element enters the viewport. You can also set the end value to make the bluriness stop.
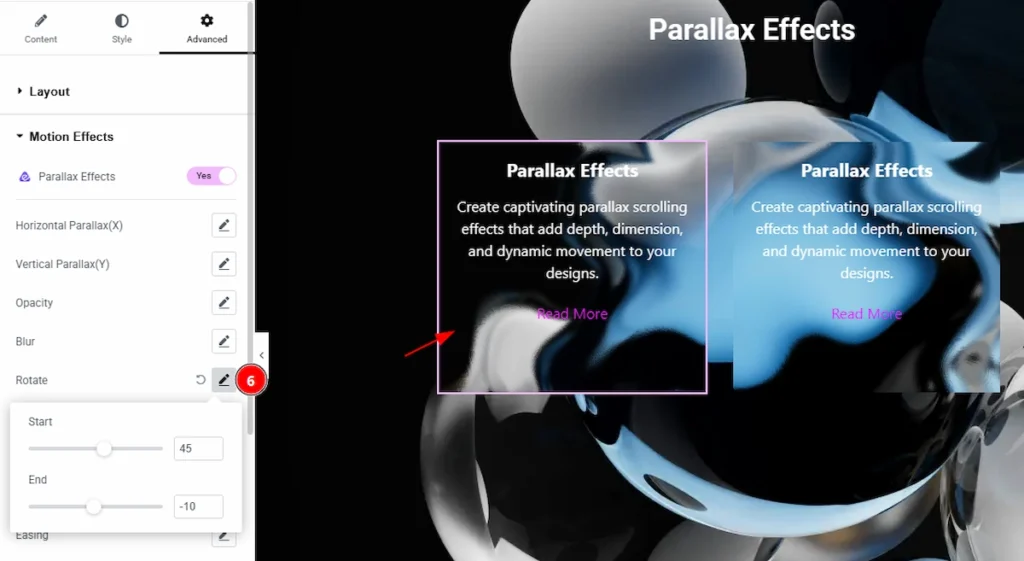
6. Rotate: The Rotate option makes the element spin from the Start degree to the End degree as you scroll, creating a scroll-based rotation effect.
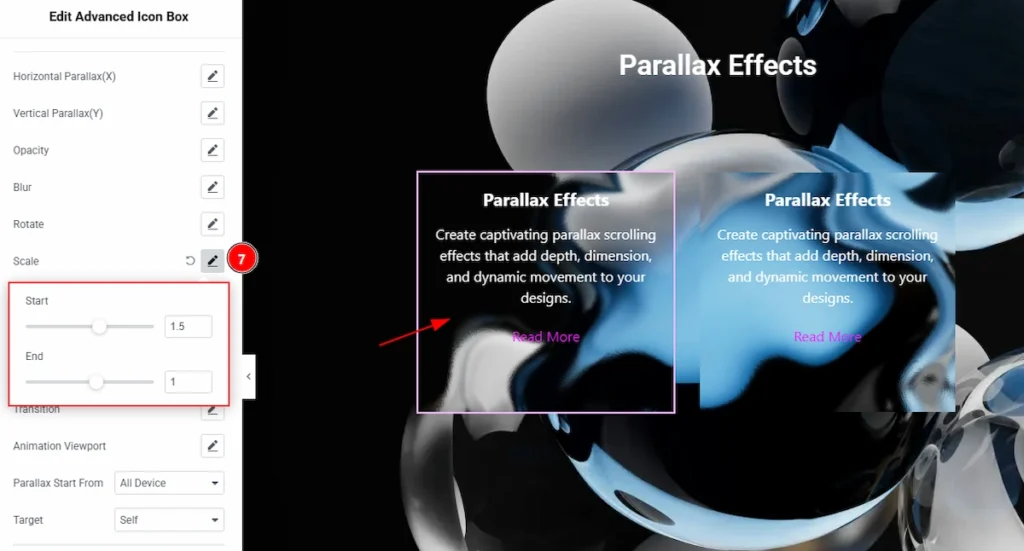
7. Scale: The Scale option changes the element’s size from the Start value to the End value while scrolling, creating a zoom-in or zoom-out parallax effect.
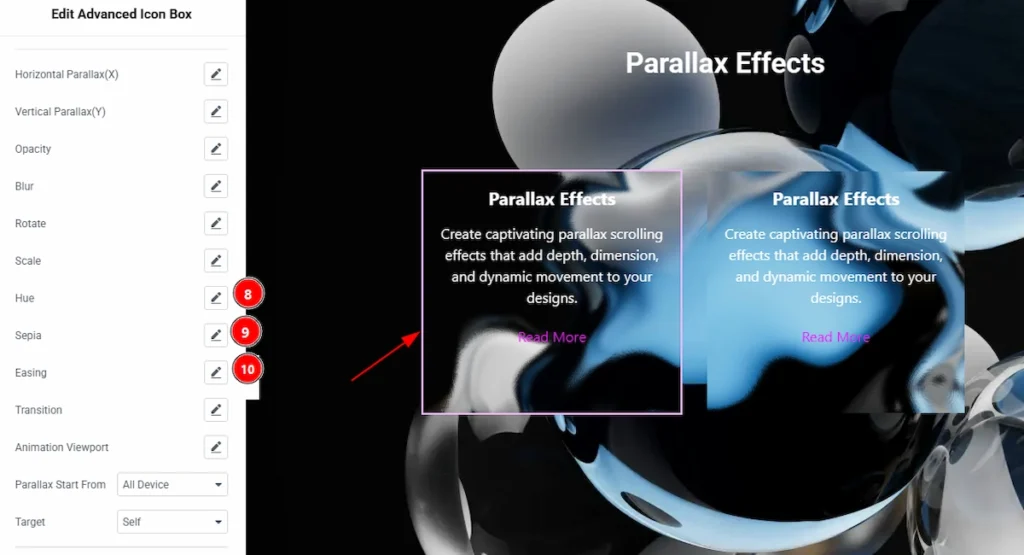
8. Hue: You can change the element’s color tone (hue rotation) from Start to End while scrolling, creating a dynamic color-shift effect.
9. Sepia: You can adjust the sepia filter from Start to End while scrolling, giving the element a gradual vintage/brownish tone effect.
10. Easing: You can control the animation speed curve, making the parallax movement start, move, or end more smoothly instead of linear motion.
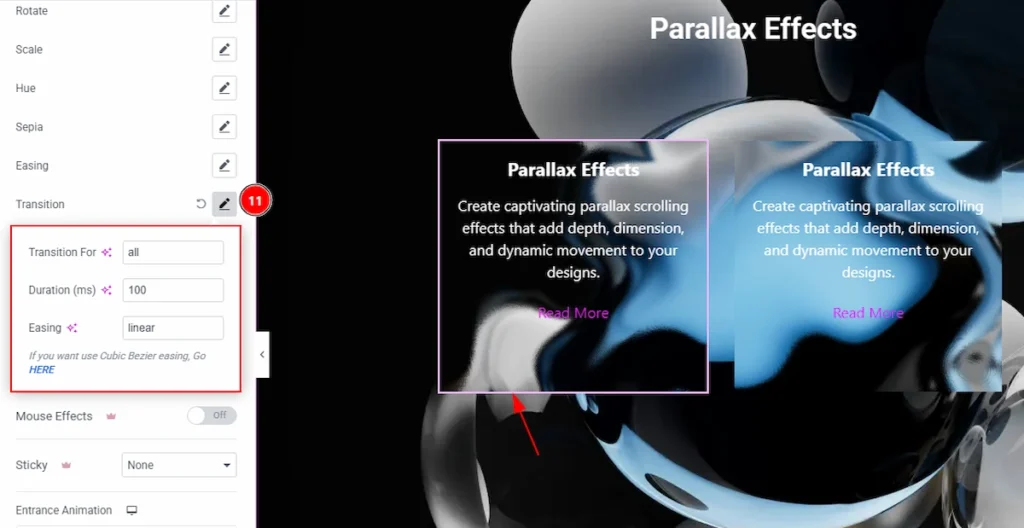
11. Transition: This option controls how smoothly and quickly the parallax effects animate by setting which properties are affected, the animation duration (in ms), and the easing style (e.g., linear or smooth curve).
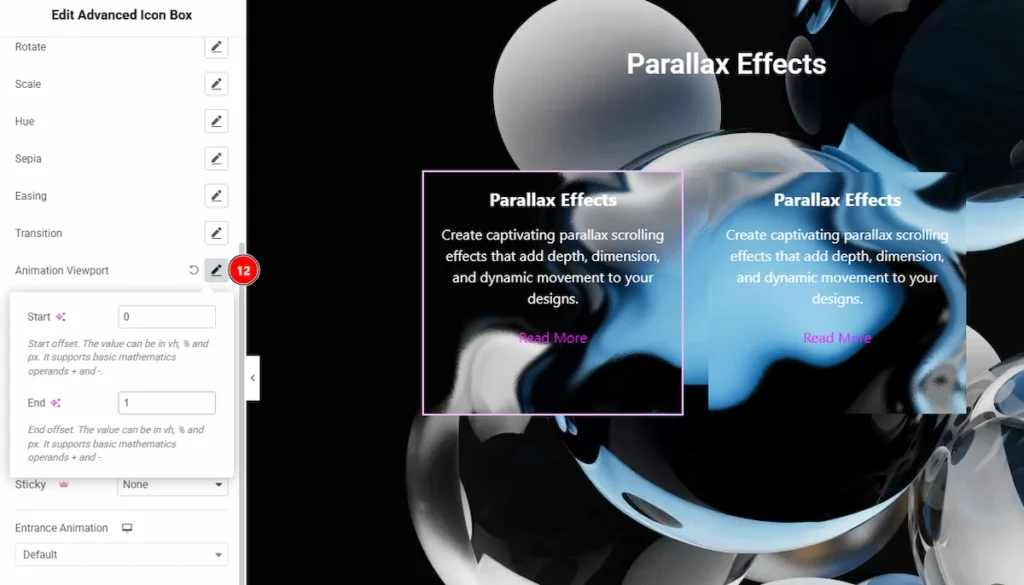
12. Animation Viewport: This option controls when the parallax animation starts and ends based on the element’s position in the viewport by setting custom start and end scroll offsets (in vh, %, or px).
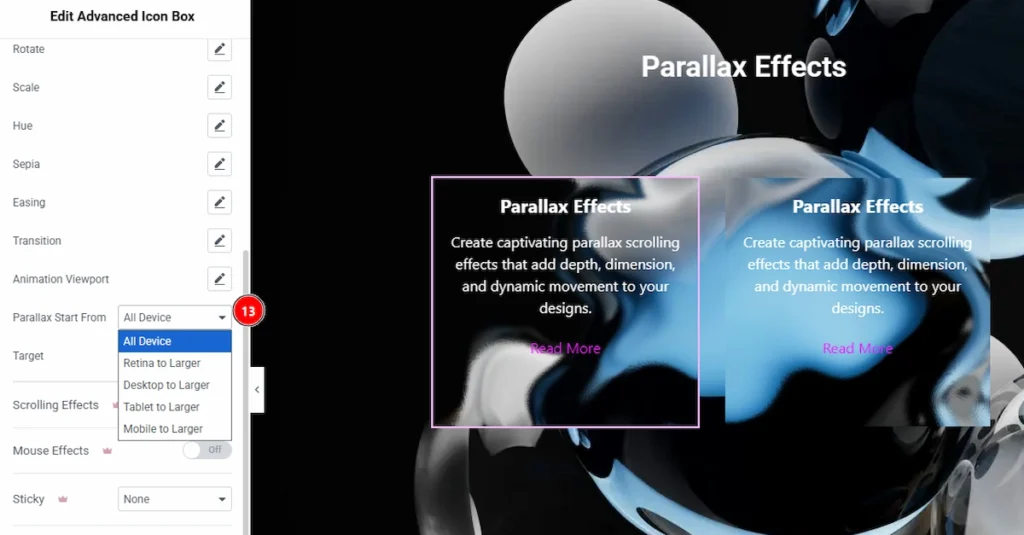
13. Parallax Start From: The Parallax Start From option controls which devices (All, Retina to Larger, Desktop to larger, Tablet to larger & Mobile to larger) the parallax effect will be applied to.
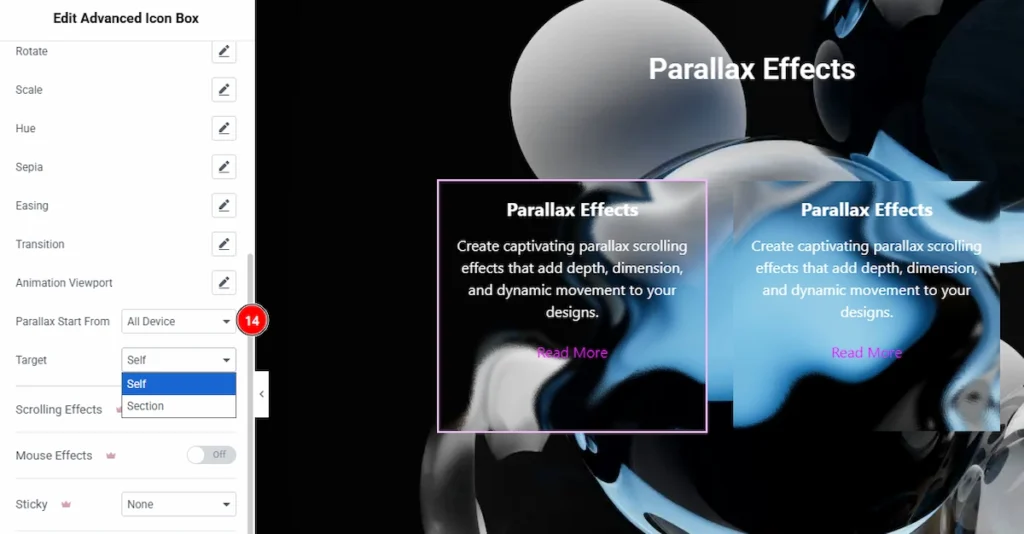
14. Target: This option controls whether the parallax effect is applied to the element itself (Self) or triggered based on the entire section’s scroll position (Section).
All done, You have successfully customised the Parallax Effects Extension on your website.
Video Tutorial #
You can also watch the video tutorial to learn more about the Parallax Effects extension.
Thanks for being with us.